


Your Gluten Free Pantry and Baking Equipment
What you need to successfully bake GF Sourdough

“How can a nation be called great if its bread tastes like kleenex?”
― Julia Child
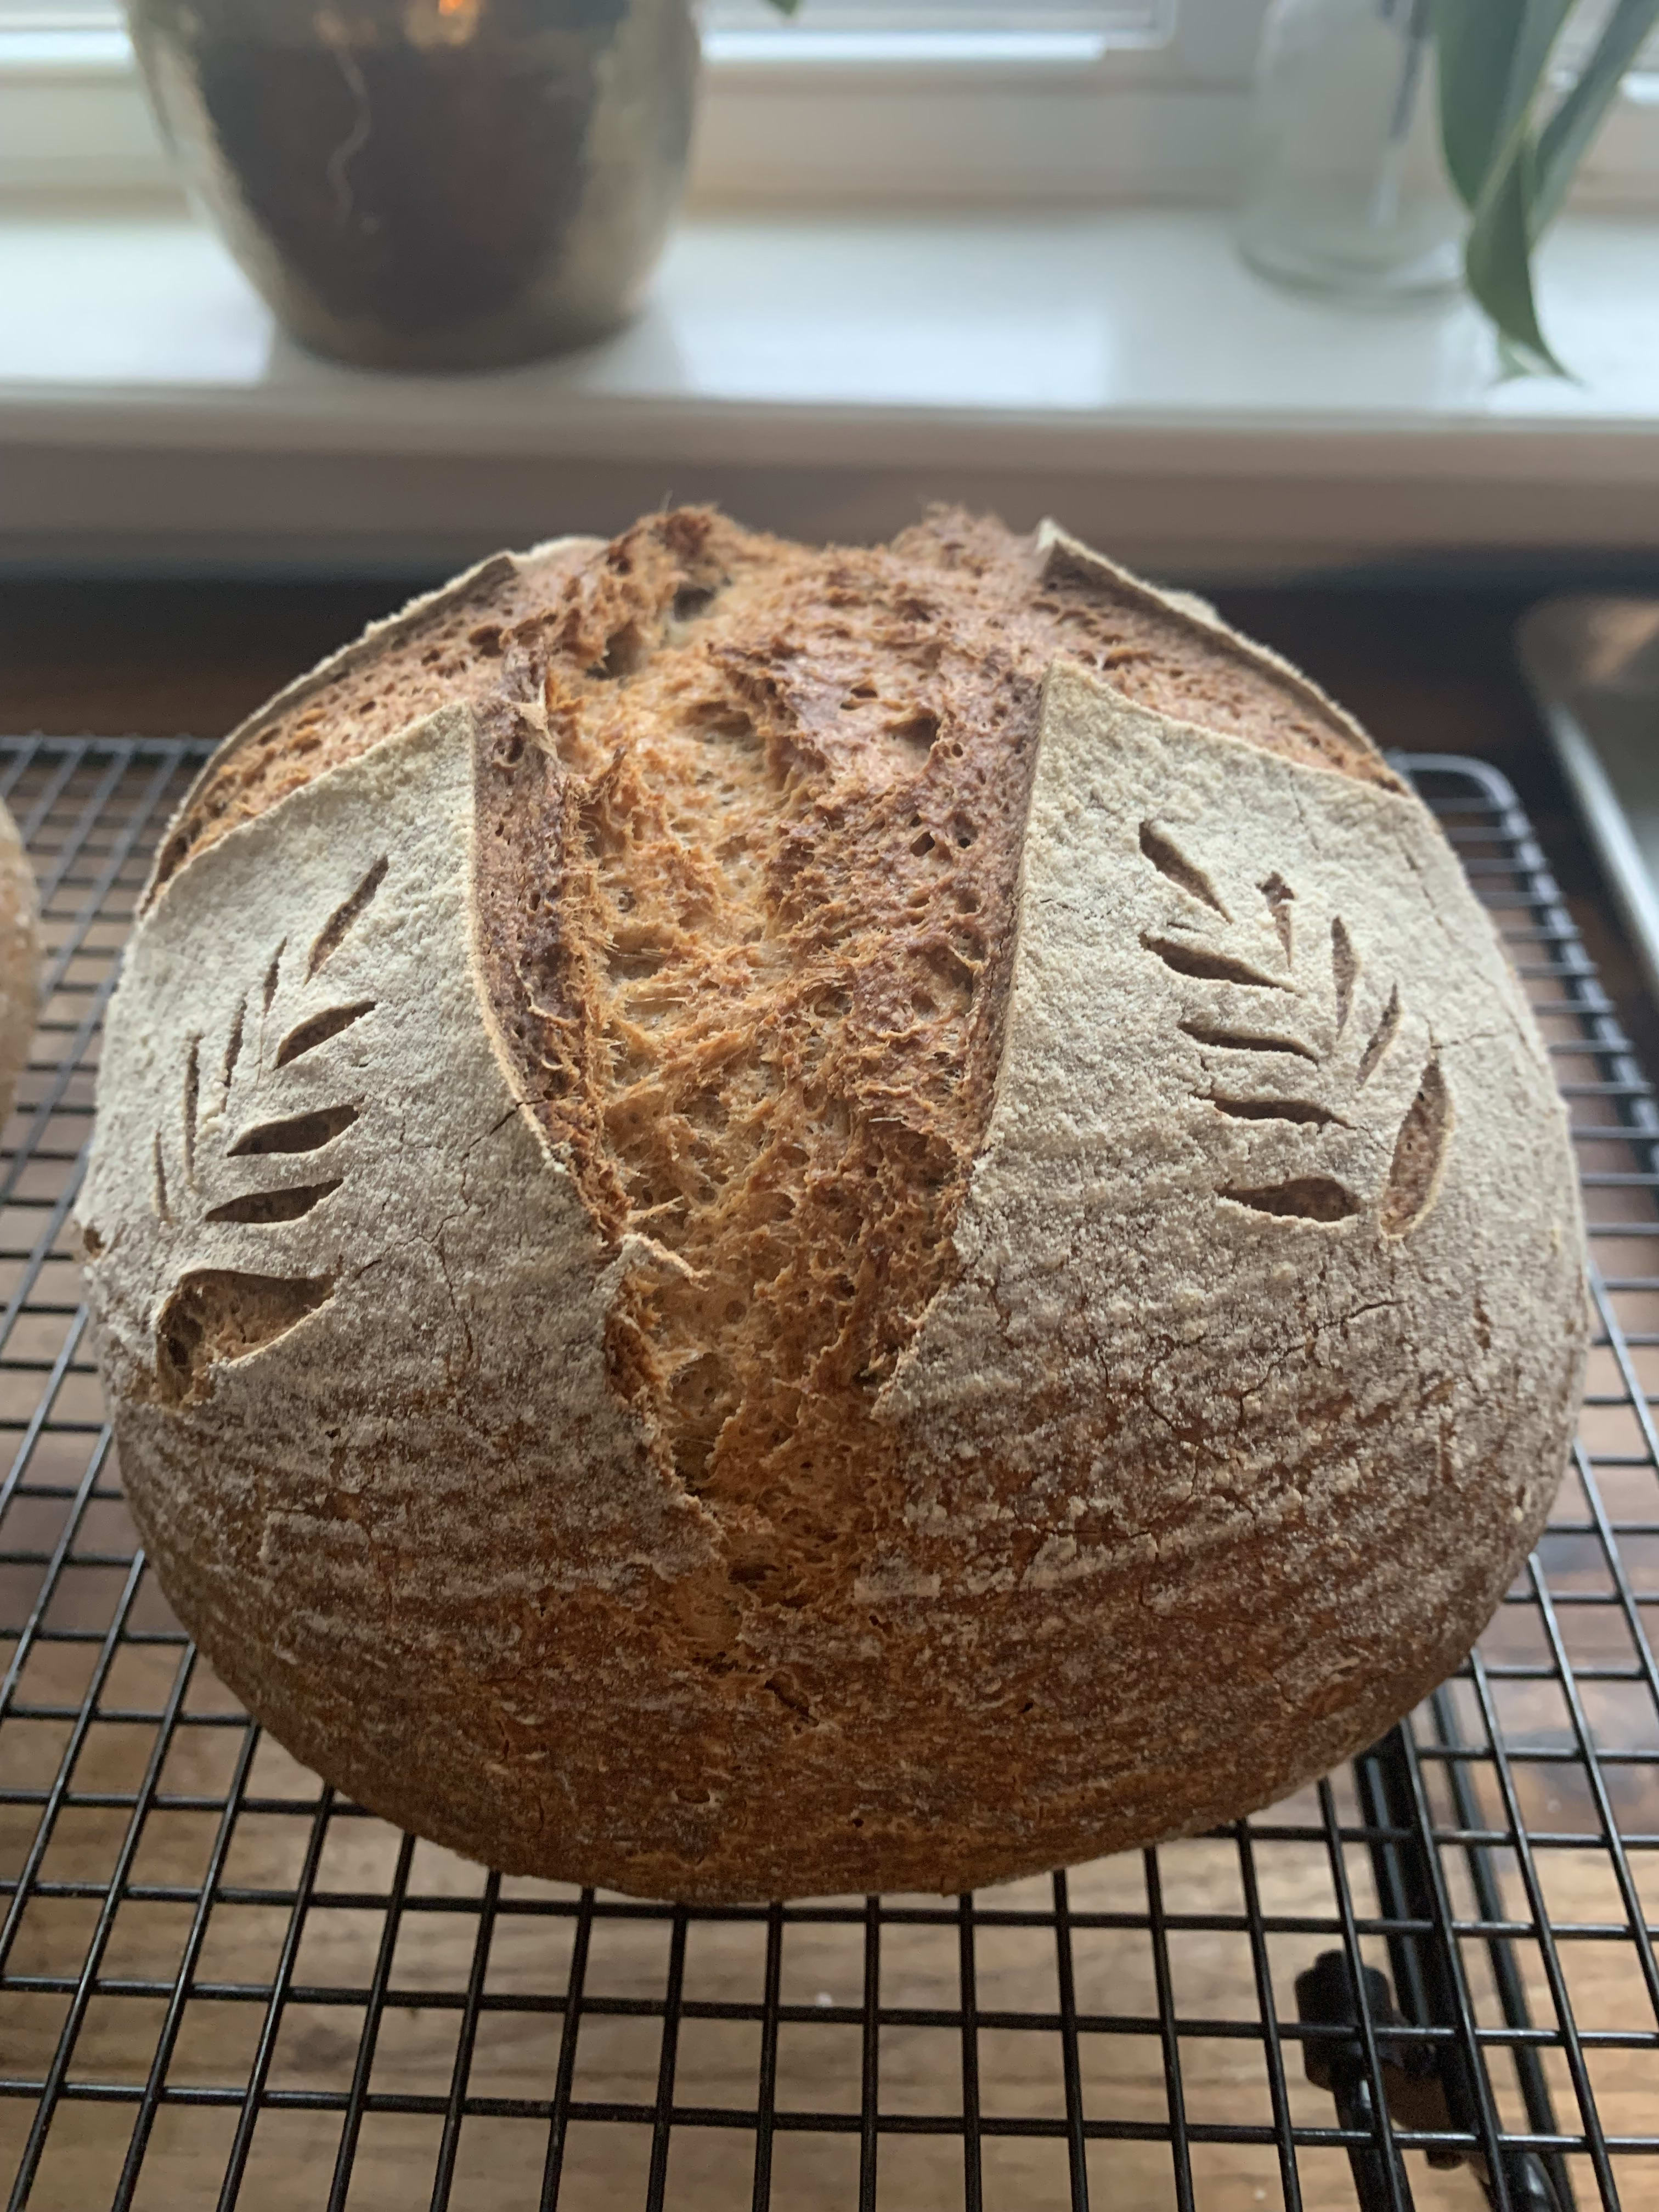
It is no secret that gluten free store bought bread is lacking. It is lacking in flavor, texture and nutrition, not to mention it’s ability to be digested without causing digestive distress! Baking your own gluten free sourdough bread has so much value. Not only will you save money, but you will create a more healthy and delicious product that is much easier to digest and most importantly, one that doesn’t taste like Kleenex!
Before you start on your baking journey, we need to make sure you have the flours, ingredients and equipment you need be successful. These are items I suggest you always have on hand. They are all things I use myself and all listed flours/grains I keep stocked in my pantry.
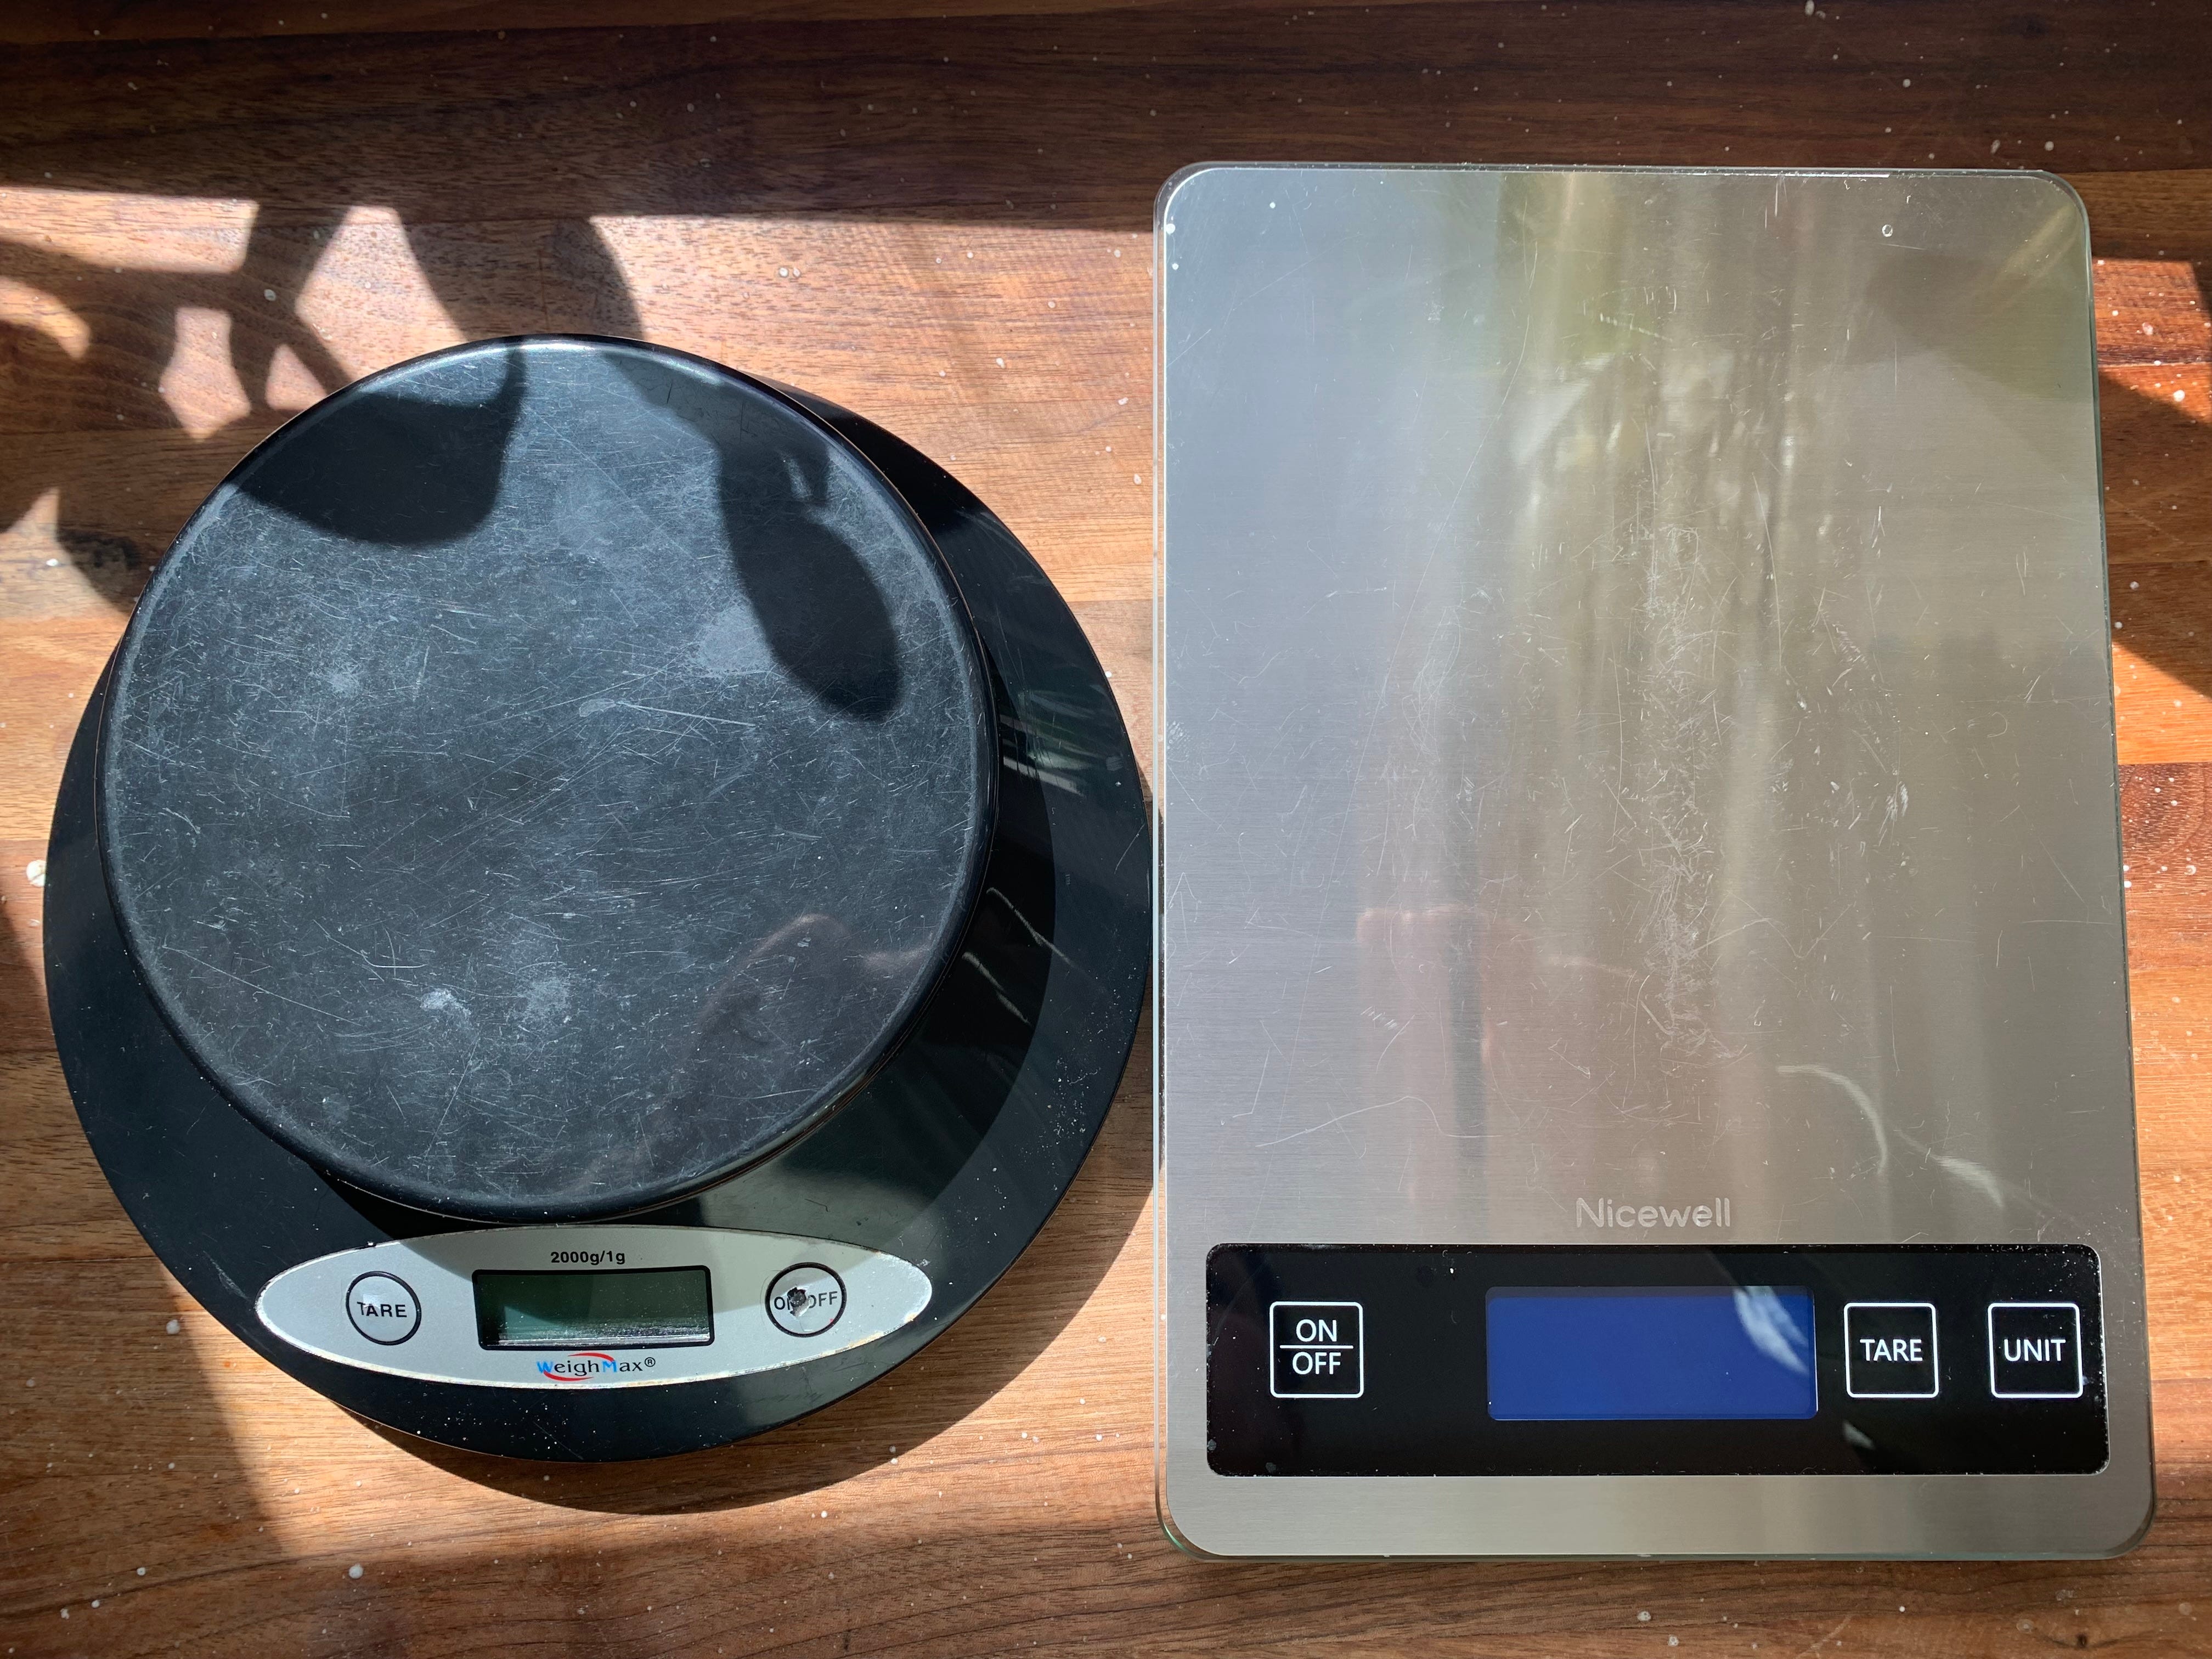
The #1 item for gluten free baking is a kitchen scale. If you don’t have one, there just is not anyway around it, please get yourself one! I have two scales, one I used for almost 4 years and spent $8 on and the newer one I bought for $12. I will say, I prefer my newer scale simply because it has a larger and completely flat surface. This makes it easier to balance bowls to weigh out ingredients. Also, I used the round scale for almost 4 years and it worked just fine…bread was still successfully made. Kitchen scales are incredibly affordable and will add a significant amount of reliability to your bakes. All of my recipes will be written by weight and I do not (and will not) have them converted into measurements.
The MVP of gluten free bread making is psyllium husk powder. Psyllium husk powder is what binds your bread together. I acts kind of like gluten would in sourdough made with wheat. It gives your bread structure and some flexibility, allowing you to knead and shape your bread. Psyllium also absorbs a great amount of water. This helps because gluten free grains are not great at absorbing a lot of water, so the psyllium allows you to have a workable dough, instead of a dough like cake batter. It should be noted that whole psyllium husks and psyllium husk powder are not the same ingredient. I prefer the powder and my recipes will specifically use psyllium husk powder. Whole psyllium husks do not absorb water as well and you will need to use more if you choose it as an ingredient over the powder.
What flours should I use? I prefer to use organic grains/flours. All of these flours can be found organic, if that is your preference. Here are the flours and the starches I always have stocked in my pantry and I use on a regular basis:
Light Buckwheat Flour (can also use dark, but it will change the flavor and color of your bread)
Sorghum Flour
Gluten Free Oat flour (I specifically grind my own oat groats OR I buy old fashioned oats and grind into a flour in my blender. One Degree Organics tests for glyphosate and their oats are sprouted )
Millet Flour
Brown Rice Flour (super fine grind)
Sweet Rice Flour
Tapioca Flour (or starch)
Potato Flour (or starch)
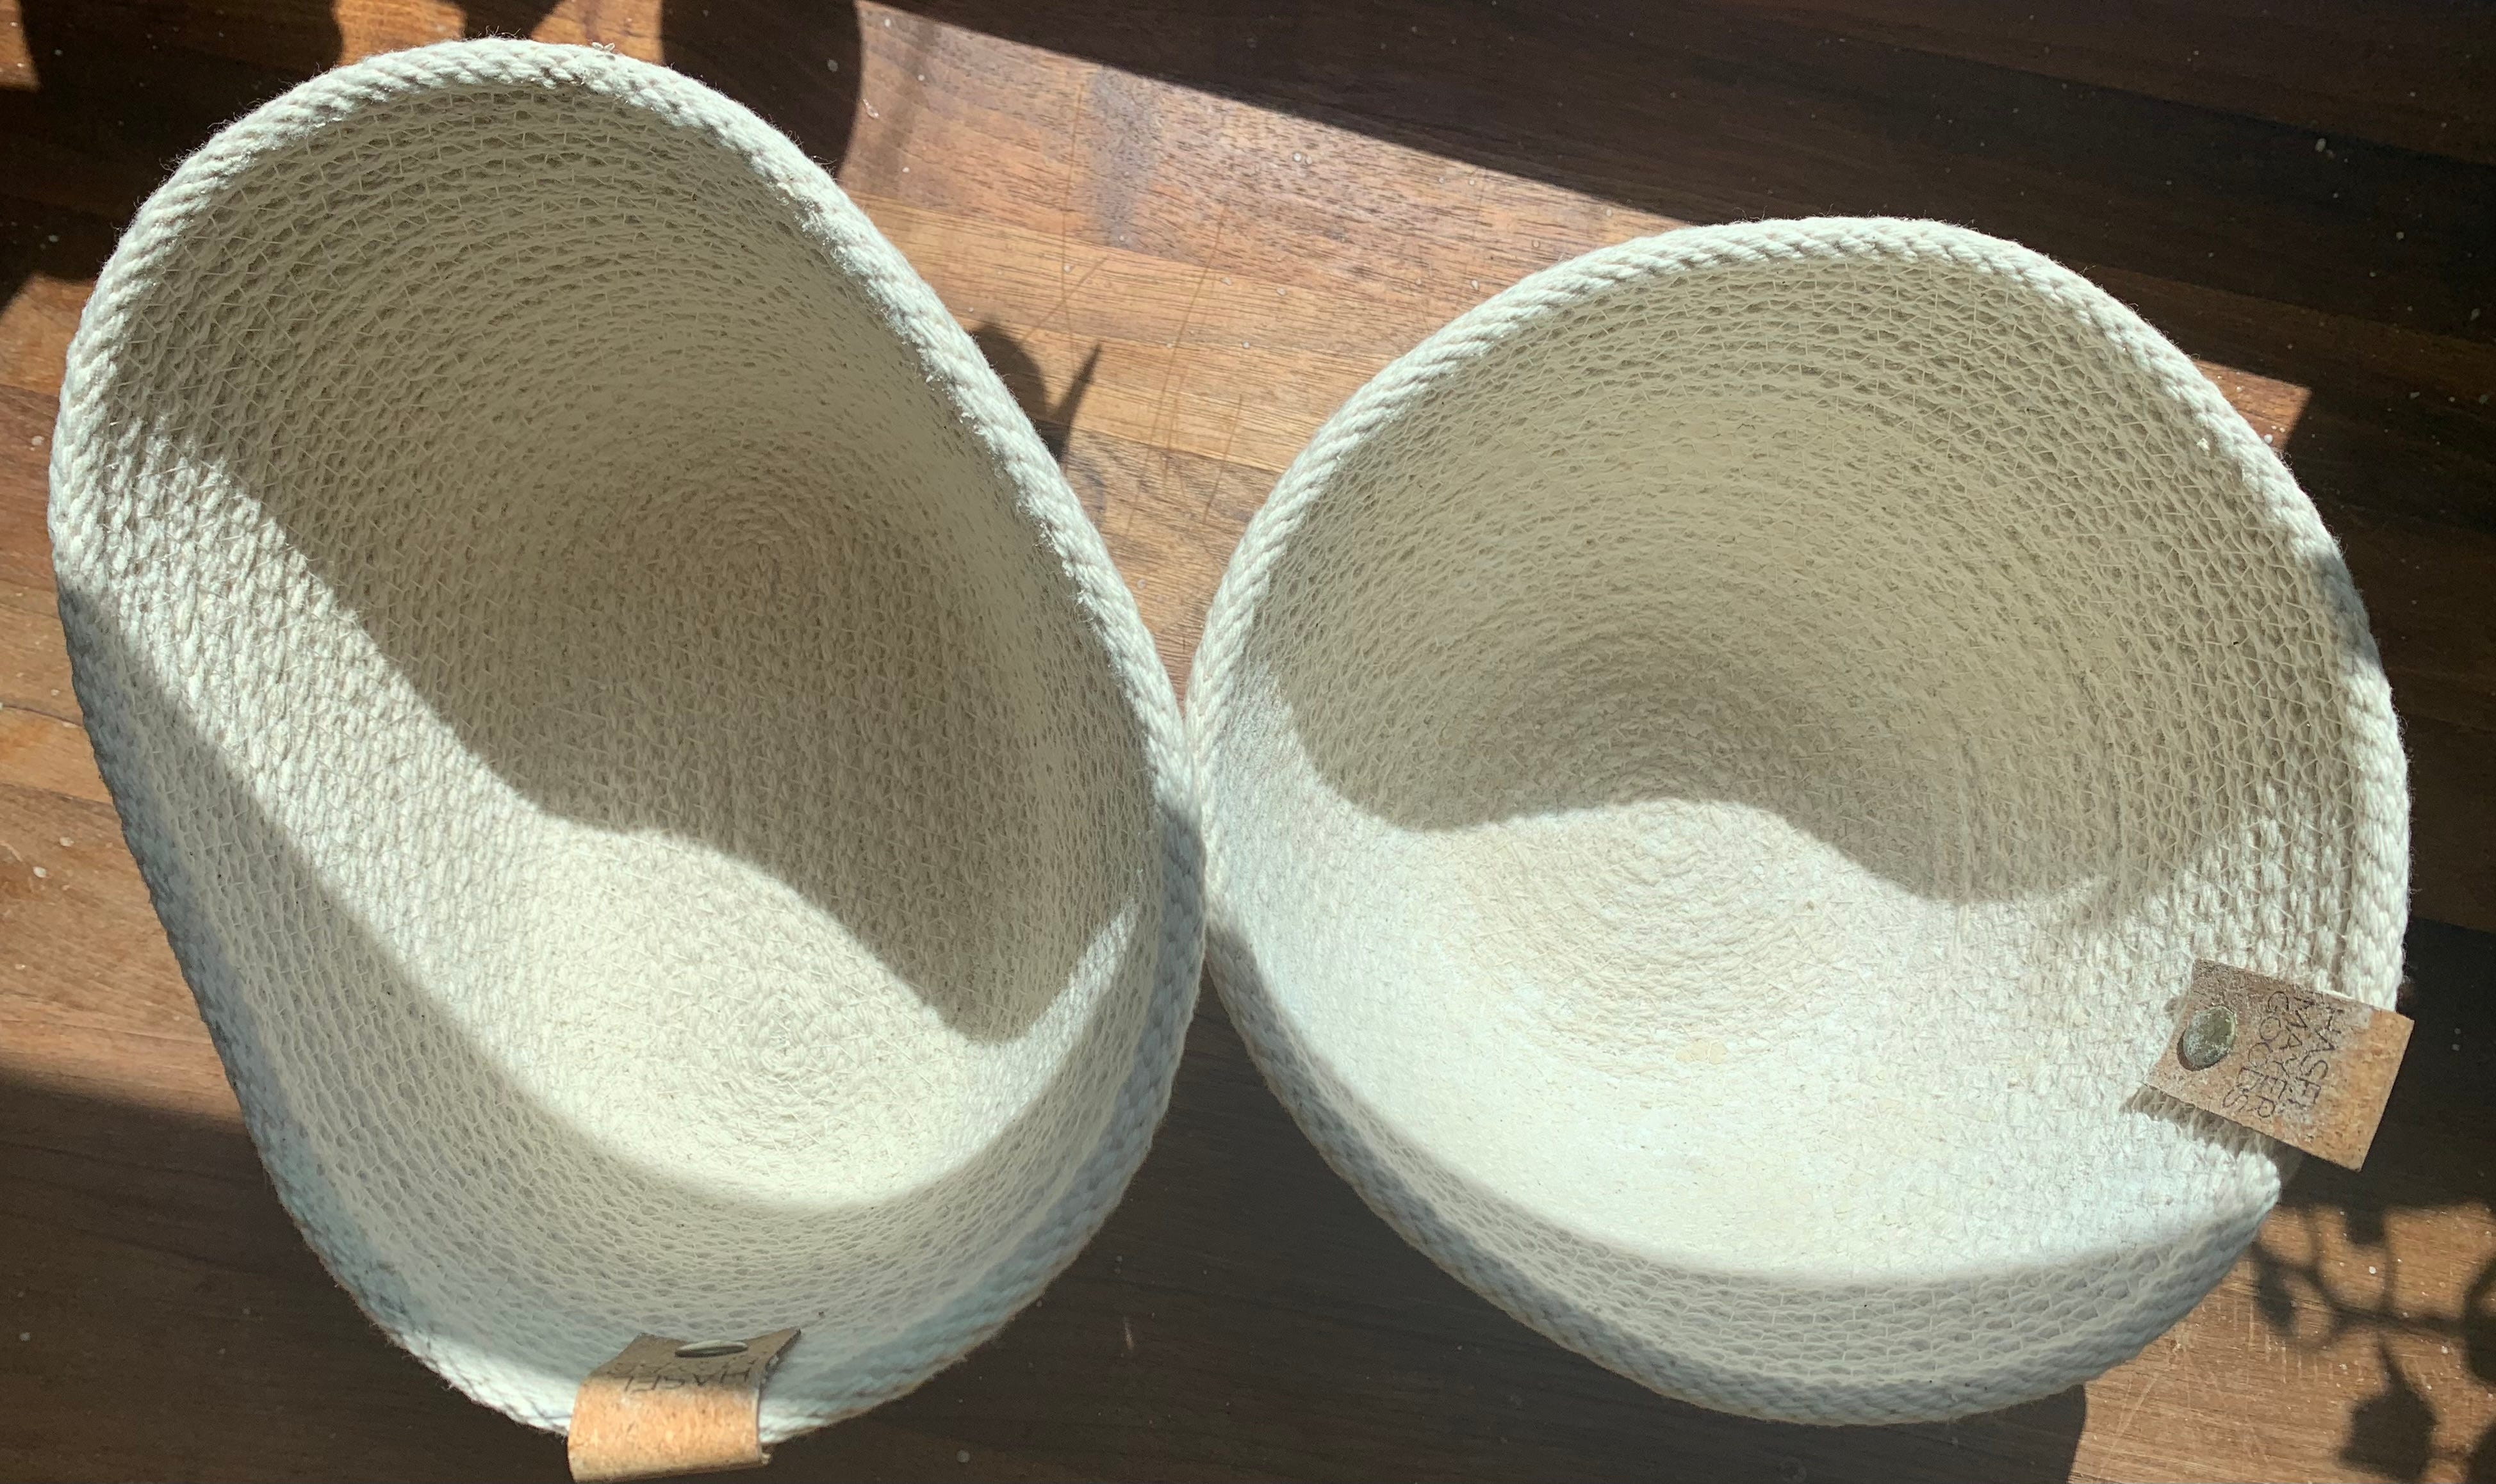
You will need 1-2 proofing baskets. I prefer the baskets sold by Haselmayer Goods online store. Their baskets are made in the USA and seem to better absorb the extra moisture that gluten free dough can release. They are pictured below. I have also used other banneton baskets and they work just fine, you will however benefit from using a liner with those baskets. I prefer anything between a 7 inch and 9 inch banneton. If you do not want to invest in a proofing basket, then I recommend using a bowl lined with a kitchen towel.
You will need something to bake your bread in. This may actually be the most expensive part of your baking supplies. A heavy dutch oven is the best tool to bake your bread in. You don’t need to spend $300 on one. They are easily found used in consignment/thrift stores. You can also buy a Lodge cast iron dutch oven for under $100 and you can get a great deal on them when they are on sale, especially if you are not particular about what color you buy.
A stand mixer…this item is optional, yet highly recommended. You can absolutely mix your bread dough by hand. However, gluten free bread mixes very sticky and it takes a while for all of your grains/psyllium husk powder to absorb all of the water. Also, sourdough made with wheat starts out as sticky, but with stretching and folding, it becomes less sticky and easier to handle. This is not the case with gluten free breads. Your gluten free bread dough will stay sticky. Having a mixer also lets you kneed the dough longer, which aerates it more and creates a better rise.
To maintain your starter for your bread, you will need clean jars and a wooden stirrer. You can use metal, but some say the interaction between the metal and starter is not good and can kill off some of the microorganisms in you starter. I have a wooden stirring stick that works beautifully.
Miscellaneous items you will need:
parchment paper
baking sheet (for deflecting heat off bottom of dutch oven)
cooling rack
bread knife
filtered water (your tap water can have chemicals in it that inhibit the growth/rise of your starter/bread)
salt
Time to gather your supplies! In the next few weeks I will be sending out the first gluten free sourdough recipe. Before the bread recipe, I will be sending out an email on how to grow your own starter as well as a discard recipe for those of you who already have a starter growing. Please reach out with any questions.
Until next time,
Idris Craft
The Naked Pear
Do you have a post on your favorite flour brands?